


This page includes a photo of my DD at the fair a few years back. She was hugging a Living Statue. These performers are pretty incredible; not only do they act like statues but they really do look like a statue. The look on the performer's face in the photo is one of contentment with a Mona Lisa smile. If you could see this up close and in person, it would tug at your heart strings....trust me. I LOVE the script paper from My Mind's Eye!!! I found myself wanting to hoard it. :) It is kind of hard to see, but I tore the script paper horizontally and then I actually burned it...using a real flame! I love the look of burnt paper.


I handmade the pink flowers using some of the card stock that came in the kit. BTW, the card stock was yellow. I will be teaching this flower technique at Miss Art's Papercrafting School in July!

After I covered the box in paper, I used one of the stamps that came in the main kit (a burlap-texture) and stamped all over the paper. Then, I took a stencil from the embellishment kit and added some clock faces and numbers all over the box. I took the chain that came in the add on kit and draped it around the box top.

I tore one of the kit papers that has a map on it and added it to the top. I crinkled and cut down the glassine paper to make that mini envelope. I used Pearl Fixative Alcohol Ink to color the heart on the key and glued the other pieces down. I made the large flower (another one that I will be teaching at Miss Art's in July). Isn't that big blue ribbon awesome!!
 This is for this month's sketch. The photos are of my DH and he made me promise not to add too many flowers and NO butterflies to his page. LOL!! It is still killing me not to add butterflies on this page. But....a promise is a promise *said through my gritted teeth* LOL
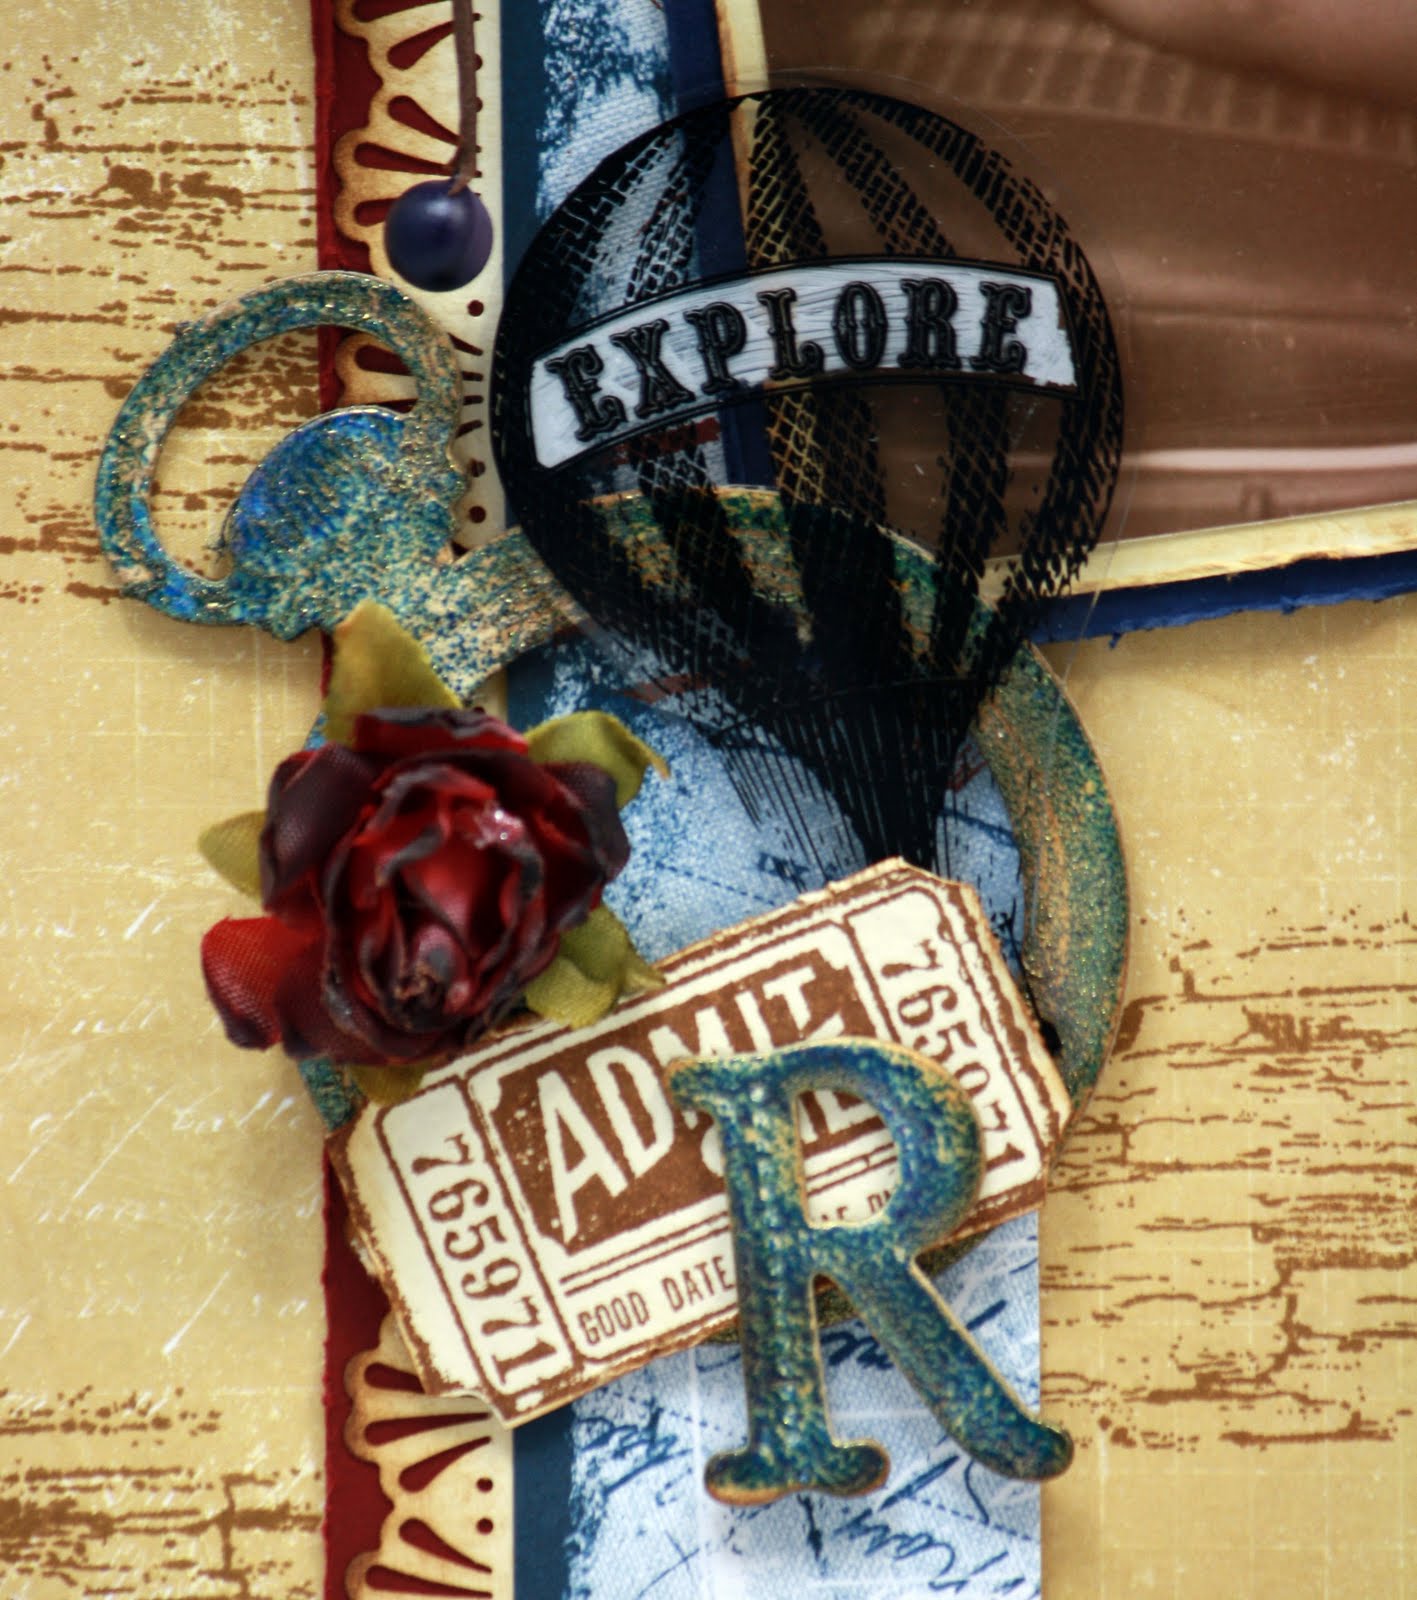
We received some Tattered Angels Glimmer Glass in the kit too. I took some white Staz On ink and colored in the word on the balloon so that it would stand out. I took apart the chipboard watch with the "R" in it and I used some Lindy's Stamp Gang embossing powder. These powders are too cool! Just like her mists, these embossing powders are two-toned when they melt. This one has blue and gold.


We received a very cool transparency sheet from Kanban. It had embossed and glittered shapes all over it. I fussy cut out one of the shapes and created a flower out of it. I placed a gorgeous red rose in the center.
Phew! I got a lot of mileage out of this kit and created some very different looking projects. I hope you were inspired by something I created from this month's kit. Thank you so very much for stopping by. I appreciate your support!
XO, Lisa


6 comments:
oh my... inspiration overload... stunning marvelous magnificent.. absolutely beautiful layouts .. love all of them..
Totally awesome, as usual! Thanks for the inspiration!
Your talent just wow! The wish layout is OMGosh! BTW - I'm stalking, look at me, I'm stalking, can't you see, I'm stalking, yesseree... LOL! Tag you're it!
Fabulous work Lisa!!!!! I love the way you worked this kit not masculine but Americana!!! You're a true artist, my friend!!
Amazing projects with this kit! My favorite is by far the altered box! WOW, it's simply amazing! Love the chain!
WOW WOW WOW love love love that photo of your daughter and you layouts are soooo AMAZING!!!
hugs
Brenda
Post a Comment