Home Photo Tutorials Video Tutorials Gallery Creative Resume Permissions Email Me

Faux Metal Tutorial

This was so much fun!!! My page titled The Journey (above this tut) features this faux metal. Here are the supplies you'll need...

Read More

Crepe Paper Carnations

How much do I love thee? Let me count the ways!! Isn't this flower adorable!? I ran across this tutorial on the web months ago and it has been rolling around my head ever since. It is so versatile making it perfect for every one one of your gorgeous creations. Let's go!

Read More

Calla Lily

I fell in love with this flower when I saw a video for it on the Heartfelt Creations website. So, if you don't want to read my tutorial you can click here to watch it over at HC. I did distress this up a little bit, which is not on the video. All right! Let's get started......

Read More

Faux Leather Tutorial

Making faux leather is easier than you think. I know, I say that about a lot of my tutorials. Have I been wrong? LOL...

Read More

Snowy Poinsettia

These flowers are just too cute! They are beyond easy to make too...BONUS!

Read More

Emerging Color Stamping Technique

Ok, I'll admit it...I really love stamping and the more I stamp the more I want to stamp. It's a wonderfully vicious circle. Emerging Color is one of those techniques that have some very basic and constant elements to it, but the creative license is all yours in how you present it. I'm sure if you Google or YouTube you will find a ton of tutorials and a lot of them will be very similar. Emerging Color boils down to this one word: resist. This is at its very core a resist technique. The whole trick to doing this is to remember that you will work in layers.

Read More


Sunday, November 28, 2010

Twas the night before Christmas

Swirlydoos December Kit - Divine Noel
Krissy never disappoints us with her kits and this month is no exception!  Gorgeous and glamorous; everything the holiday season should be.

These pictures are of my DD when she was almost 3 years old.  My how times flies.  I used the sketch that came with our kit for this.  Christmas glamor and glitz was what I wanted this page to look like.  I made the snowy Poinsettias and the patterned Christmas trees using molding paste and a template.  I added tutorials below this post for both of them.

I hope you enjoy the tutorials and I want you to know that it means so very much to me when you stop by.  Thank you, and happy holidays!!

Snowy Poinsettia Tutorial

These flowers are just too cute!  They are beyond easy to make too...BONUS!  I have to apologize for some of the pictures below.  I could not get a good shot for some of them no matter how hard I tried.  Ok, here we go!!

Supply List
  • Spindly Poinsettia SVG file - you can buy a set of 3D winter flowers (on the cheap) here SVG Cuts
  • Cricut cutting machine (not pictured)
  • SCAL or MTC software (not pictured)
  • Heat Gun (not pictured)
  • Glitter - I used red and a white, but my white had splashes of color in it so it's not a true white
  • Glue - Glue stick and Liquid glue. I like the liquid glue from 3M.  It dries quickly
  • White Puffy Paint - it is by Tulip and can be found in most craft stores
  • Tweezers and a Stylus
  • Pearls - for the flower centers
  • Bundled Sage Distress Ink and an applicator
 Step 1
Open up the Spindly Poinsettia file in SCAL or MTC.  Cut out as many sets of the flowers as you want. You need the larger petals (above) and the smaller, center petals for each flower.  I used white card stock for mine.  Carefully apply the Puffy Paint around the tips of the flower and sprinkle glitter over the paint.

Next, using your tweezers to hold the flower in place, use your heat gun to "puff" the paint.  You can tell when it starts to puff because it pops right up like popcorn!  If you are anything like me, you get better at puffing the paint and more of a feel for it as you go along.  Don't worry, you can go back and heat your flowers again and the paint will puff.

Step 2
Take the smaller petals and using your ink blending tool, apply a light coat of Bundled Sage Distress Ink.  I was going for a lighter look for my flowers, but you can go as heavy as you want.  After you have the color the way you want it, use your glue stick and cover the entire thing in glue.  Place it in your work tray and sprinkle with glitter.  Apply a small dot of liquid glue to the center of the large petals.  Using your tweezers place the smaller petals on top, offsetting the petals.  Add a pearl to the center.  Once everything has tried use your stylus to lift up and slightly bend the smaller petals making your flower 3D.

You can add as many layers of petals as you wish.  I kept it to 2 because I wanted a visually light flower. There are a ton of variations for this flower and this is just one of them.  Thanks so much for stopping by!!

3D Stenciled Embellishments

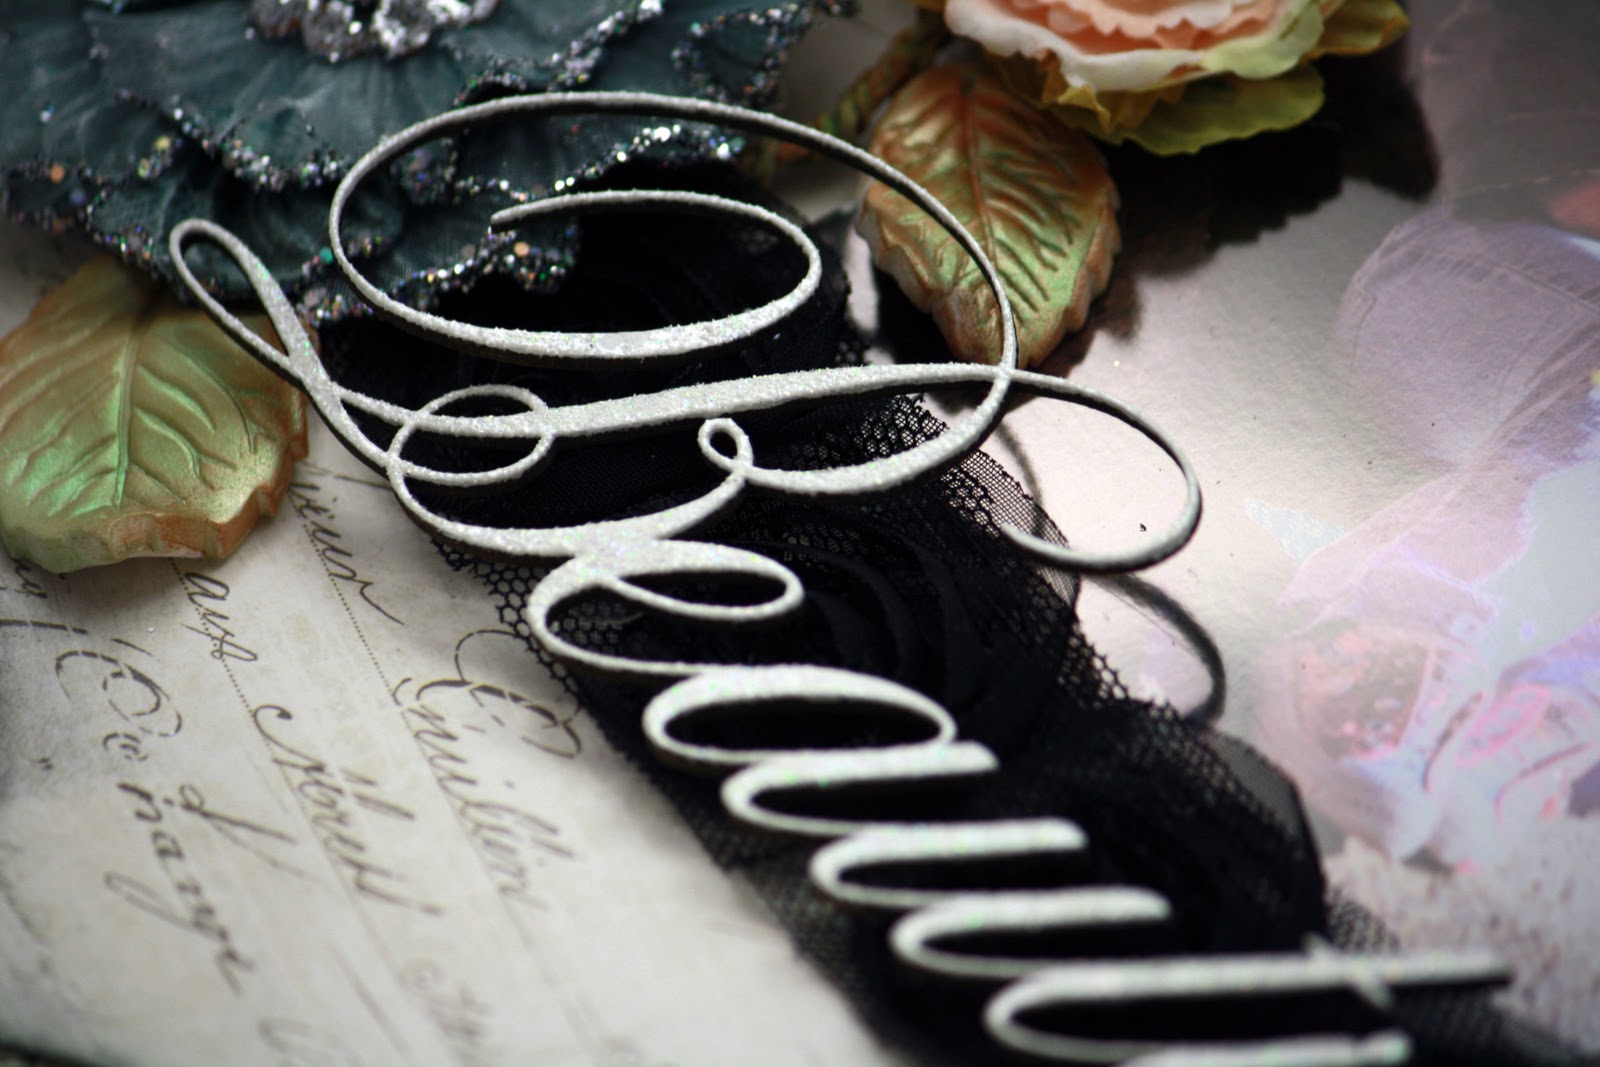
One of the easiest projects I've been really getting into lately is making 3D designs using my templates.  I know it is hard to see from this picture, but you'll have to trust me, there is some depth in that design.  This project is so super easy that I just had to share it with you.


Here are the supplies you are going to need:
  • Bowl, Pan or anything that you can use for glitter
  • Stencil - mine is from Layers of Color
  • Light Molding Paste - mine is by Golden
  • Palette Knife - you could use an old credit card, or a sturdy piece of chipboard if you don't have a knife
  • Glitter
  • Item that you want to embellish.  Mine is a Christmas tree for a page I'm working on.
  • Non-Stick Craft Mat
  • Masking Tape
Step 1
Put your card stock on your non-stick craft mat and position your template until the design is where you want it.  Use masking tape to secure the template to your craft mat.

Step 2

Using your palette knife, very carefully spread the molding paste over your stencil.  Something really important to note: when you are working with a stencil, especially one with an intricate design, the template may have a tendency to lift up making it so that your paste goes underneath the template.  For this reason I will first put a thicker coat over the project and not apply a lot of pressure.  Think of putting frosting on your cake.  Then I will carefully and slowly begin to wipe of the paste until there is an even layer over the template.  

Now very gently hold your stencil and remove your tape.  You don't want to jiggle the template or it will smear your design.  Now begin to lift off your template.  Your project may stick to the bottom so very slowly peel away your project.  Now put it in your work tray and sprinkle with glitter.  Do not press the glitter in place.  Lift your project and tap off the excess glitter.

Set your project aside to dry and harden.  The paste is pretty thin so it shouldn't take more that 20 minutes. It helps to make your project first and then while it is drying you begin work on the rest of your page. 

This is such a versatile project.  You can mix in some color to your molding paste prior to using it, you can use Perfect Pearls or Pearl Ex, ink it, mist it....the list goes on.  Use your imagination but most of all open up a jar and just play.  Have fun and thanks for stopping by!!

Saturday, November 13, 2010

Postcard from Winter

This is another page made with my November kit from Swirlydoos.  This is for Angelica's Butterfly Challenge that she hosts every month.  This photo is nearly 4 years old.  It's hard to believe.  This was a pic I took at my DD's 5th birthday party.  Seems like yesterday.  We had her party at the Nature Center which is just down the road from our house.  The man from the center took the girls on a hike through the woods and was pointing out to them a beaver damn that was in a frozen pond.  It looked so beautiful.  Like frozen motion.  Really pretty.  That day was really windy and cold so I wanted my page to reflect how beautiful winter really can be.  Ice looks like dangling crystal and when the moon is bright is casts a blue hue over the snow. So this is my postcard from winter.


I made the flowers out of acrylic and vellum.  I've been wanting to make acrylic flowers ever since I saw one made by one of the most talented ladies in the craft, Irene Tan.  I really love how vellum adds a luminosity to anything it is near.  I used a Tim Holtx Sizzix cutting die, his grungy flowers for the entire flower.  I used the acrylic for the medium sized flower in the picture.  I cut and then embossed the acrylic using my Cuttlebug.  Then I grabbed Silver and Stream Alcohol Ink.  I added more silver to my pad than I did the stream color and then just blotted and twisted to give the acrylic a swirly look.  Then I got my tweezers and my heat gun and started to heat the acrylic so that I could bend the leaves.  I need to tell you that any embossing I did, was removed by the heat gun.  The acrylic becomes floppy and relaxed.  The relaxed part is what did away with the embossed features, so try to remember that when you do this. Embossing is futile if you heat it.   Then I glued the acrylic to two of the vellum daisy-like flowers.  Then I took the smallest flower that was cut from the die, also in vellum, and glued that to the top of the acrylic flower.  I added a pearl and some diamond stickles and there you have it.  Easy Peasy!!!  Really!
Thank you so much for stopping by! 

Sunday, November 7, 2010

My Beautiful Princess


This is a picture of my DD on the stone veranda wall at Boldt Castle.  I can only imagine what she must be thinking and wishing at this very moment.  This was such a fun day trip for us.  She LOVED the castle.  What little, or big, girl wouldn't? LOL

I made this page for a challenge at Swirlydoos.  Mandy is running one of the group challenges this month and her challenge was to use curves!  No...not like that!  Circles, solid and a loop and for an extra point we needed to use something that you wouldn't normally use on a scrapbook page.

The patterned paper is a combination of a past kit and the current kit.  The black paper is made by Glitz and the white paper is made by Pink Paislee.  It is actually the back side to one of their resist papers.  I love the old, fancy-schmancy handwriting.

I handmade the Calla Lillies using a stamp from Heartfelt Creations.  I used the Spellbinders Dies that coordinate with the stamps to cut out the shape.  I also used an embossing powder by Ranger called Bridal.  It is so pretty.  It has really fine glitter in it and when heated you end up with a glowing, glittery shimmer that is so soft.  It was hard to get a picture that does it justice.  You have to take my word for it.  It is very pretty.  I also used it on the chipboard word "Beautiful" by Dusty Attic.  First I used an Adirondack Paint Dabber in White and then while the paint was still wet I put the Bridal Embossing Powder on it and embossed it.


The leaves I hand made using Fimo Clay and Perfect Pearls.  I used a leaf mold made for jewelry that also had a built in embosser.  The embosser gave the leaves all of that lovely veining.  After I cut them and embossed then, I then used copper and green Perfect Pearls to give them that autumn feel.  I shaped them by hand in order to five them a more dimensional look.  All that was left was to bake them for 30 minutes and then they were ready to put on the page.  I am in love with clay and will certainly be working it into my pages going forward.


Thanks so much for stopping by.  It really means a lot to me when you do!!!  Hugs!!

Wednesday, November 3, 2010

Curiouser and Curiouser


Swirlydoos November Kit

For Halloween my DD was the Mad Hatter. I used PSE8 to make the photo black and white and then I erased the layer to reveal the original color on her hat and lips.  I really love this photo.

The November Swirlydoos kit came with Pink Paislee's Parisian Anthology resist paper.  I love the freedom you get with these papers!  You can ink, mist, paint and a ton of other things to this paper and the resist stays white.  The darker you make the surrounding paper, the more the resist design pops.  I used Distress Inks on this and just kept blending until I was happy.  Then I took a slightly damp paper towel and lightly rubbed the entire page.  This does two things; 1) it blends any harsh edges from the ink blending tool and really softens the overall look, 2) it cleans any residue on the resist.

I took a sheet of paper from my Mariposa Stack.  LOVE this stack.  I've used this paper more than any other line of paper I own.  I found some gorgeous, gold-glittered butterflies and fussy cut them off the page.  I used one of them for the photo corner.  I found a flower in my stash, folded it in half and placed it behind the photo corner.  I took another butterfly and cut it in half and used it as a flower bud.  I used another one at the bottom of my photo behind the flowers.  


We got some seriously gorgeous flowers in this month's kit.  Along with the flowers was this beautiful, natural looking flower branch with those pretty pink roses in our kit.  I deconstructed it and used the pieces around the page.  I added some pearls and flourishes and that's it.  There really is not a lot of things on this page.  The resist paper really brings its "A" game.


Thanks so much for stopping by!!!!